
The Ultimate Guide to Rack and Pinion Hydraulic Transfer Tube Replacement
When a Small Tube Causes Big Steering Problems
Rack and pinion transfer tube replacement is one of those repairs that catches many car owners off guard — but ignoring it can leave you with a dangerous loss of power steering.
Here's the quick answer:
Identify the problem — Look for power steering fluid leaks, a whining pump, or stiff steering.
Locate the failed tube — The transfer tubes are the short metal lines connecting the two sides of your steering rack.
Source a replacement kit — Aftermarket kits (like CARDONE assemblies) include new tubing, tubing nuts, and a sealing kit.
Remove the old tubes — Use a flare nut wrench to avoid rounding the fittings.
Install the new tubes — Match the bends to the original, install new O-rings, and torque fittings to spec.
Refill and bleed — Top up power steering fluid and check for leaks.
These tubes carry high-pressure hydraulic fluid between chambers in your steering rack. They're usually made of steel — and steel rusts. Road salt, moisture, and time are their worst enemies. On high-mileage vehicles, a corroded transfer tube can rupture and spray fluid, causing sudden steering failure.
The good news? You often don't need to replace the entire rack. In many cases, just the transfer tubes can be swapped out — saving you hundreds of dollars compared to a full rack replacement.

What is a Hydraulic Transfer Tube and Why Does It Fail?
To understand why this tiny component is so critical, we have to look at how hydraulic power steering works. When you turn your steering wheel, the rotary control valve inside the steering gear directs high-pressure hydraulic fluid to one side of a piston inside the rack. This fluid pressure helps push the steering linkage, making it easy to turn your wheels.
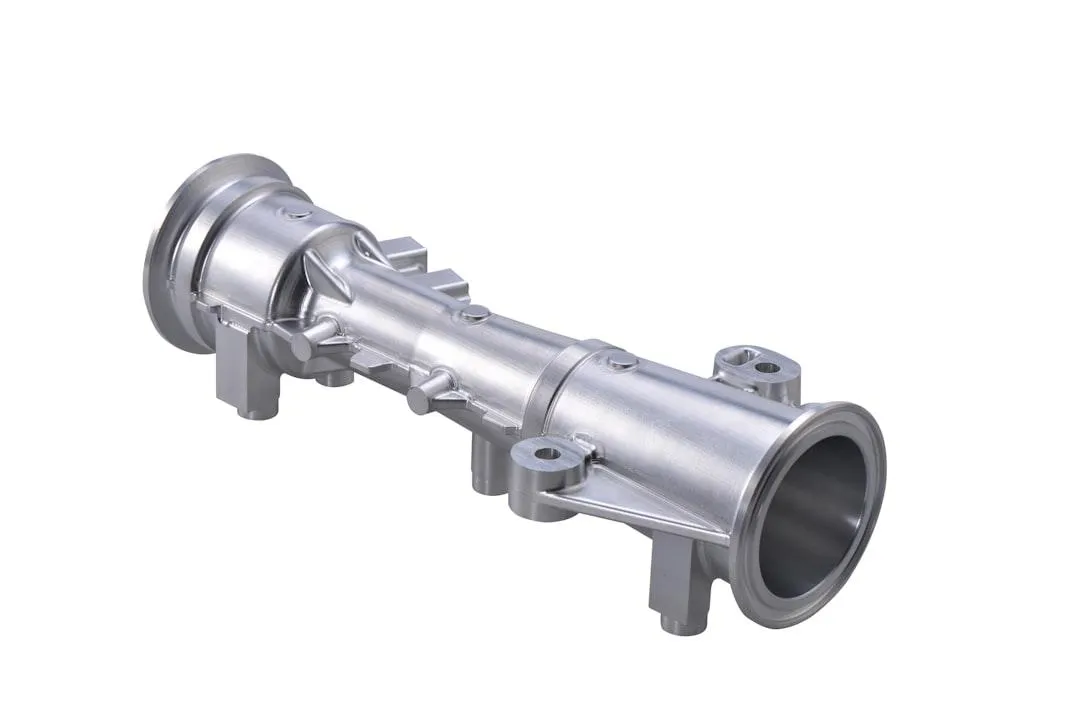
The hydraulic transfer tubes are the external steel lines mounted directly onto the steering rack housing. They act as bridges, transferring this pressurized fluid from the control valve housing to the individual left and right fluid chambers of the rack.
Because these lines are constantly exposed to high hydraulic pressure (often exceeding 1,000 PSI during tight turns), they must be incredibly strong and perfectly sealed. Unfortunately, their location underneath the vehicle makes them highly vulnerable. They are constantly bombarded by road debris, water, and, in many regions, road salt. Over time, the protective coating on these steel lines chips away, leading to severe rust and corrosion.
Even if you live in a warmer climate like Pompano Beach or Deerfield Beach, FL, the salt air from the ocean can quietly accelerate corrosion on undercarriage components. Once rust eats deep enough into the metal, the high pressure inside the line will cause it to rupture, spraying power steering fluid everywhere and leaving you in desperate need of a Steering Repair.
Can You Replace Just the Transfer Tube?
If you go to a traditional dealership with a leaking transfer tube, you might get some frustrating news. Many Original Equipment Manufacturers (OEMs) do not sell the transfer tubes as individual replacement parts. If a tube rusts out on a Toyota FJ Cruiser or a Mercedes-Benz, the official dealership catalog often dictates that you must purchase a complete, brand-new steering rack assembly.
This OEM limitation turns a simple metal tube issue into a massive, highly expensive repair bill. Fortunately, the automotive aftermarket has stepped up to solve this problem. High-quality aftermarket manufacturers produce direct-fit replacement lines that allow you to service only the failed tubes.
By opting for a dedicated aftermarket Rack & Pinion Hydraulic Transfer Tubing Assembly, you can bypass the cost of a complete rack replacement. This simple swap saves you hundreds of dollars in parts alone, not to mention the extensive labor required to drop the entire subframe and swap out a steering gear.
Symptoms of a Leaking or Corroded Transfer Tube
How do you know if your steering issues are caused by a failing transfer tube? Because these lines carry fluid under immense pressure, a failure is usually hard to miss. Here are the most common warning signs:
Puddles of Fluid Under the Car: Power steering fluid is typically red, pink, or clear (though it can turn brown or black as it ages). If you notice a fresh puddle of oily fluid directly underneath the middle of your front axle, your transfer lines are prime suspects.
A Whining or Groaning Pump: When a transfer tube leaks, the fluid level in your power steering reservoir drops. As air enters the system, the power steering pump will begin to protest, producing a distinct, high-pitched whining noise that gets louder when you turn the steering wheel.
Stiff or Erratic Steering: If the leak is severe enough to deplete the system of fluid, you will lose hydraulic assist entirely. The steering wheel will suddenly become incredibly heavy and difficult to turn, especially at low speeds.
Visible Rust and Wetness on the Lines: If you crawl under the vehicle and look at the steering rack, you may see heavily blistered rust on the metal lines, or active fluid weeping from the fittings.
If you let these symptoms linger, driving with a dry system can quickly destroy your power steering pump and lead to internal rack damage. Catching it early can prevent you from needing a more extensive job to Fix Play in Steering Wheel assemblies or replace the entire steering gear.

Sourcing Parts for Your Rack and Pinion Transfer Tube Replacement
When it comes to sourcing replacement tubes, you have two primary routes: purchasing a pre-fabricated aftermarket kit or fabricating your own lines from scratch.
For most vehicle owners and DIYers, pre-fabricated kits are the easiest and most reliable choice. Trusted brands like CARDONE manufacture vehicle-specific replacement kits that are designed to match OEM performance for form, fit, and function. These kits typically include the pre-bent tubing, new tubing nuts, and a complete sealing kit with fresh O-rings.
Depending on your vehicle, you can find specific part numbers designed for a perfect fit:
For many GM mid-size vehicles (such as the Chevrolet Impala or Buick LaCrosse), the Rack and Pinion Hydraulic Transfer Tubing Assembly - 3L-1102 (also available via Partshawk 3L-1102) provides a direct short-tube replacement.
If you are working on a GM full-size truck or SUV (like a Silverado or Sierra), you will want to look at the Cardone 3L-1108 kit.
For longer spans or specific vehicle geometries, assemblies like the Rack and Pinion Hydraulic Transfer Tubing Assembly - 3L-1305, the Rack and Pinion Hydraulic Transfer Tubing Assembly - 3L-2703, or the Rack and Pinion Hydraulic Transfer Tubing Assembly - 3L-22207 ensure you get the exact length and bend configurations required for a leak-free seal.
If you are dealing with a rare vehicle or a platform where pre-made lines are entirely unavailable, fabricating custom lines is an excellent alternative. Expert DIYers often use 1/4-inch copper-nickel (Cupronickel) tubing. Copper-nickel is highly favored because it is completely rust-proof, highly resistant to high pressures, and incredibly easy to bend by hand without kinking.
Step-by-Step Rack and Pinion Transfer Tube Replacement Guide
If you have decided to tackle a rack and pinion transfer tube replacement yourself, preparation is key. Working with hydraulic steering lines can be messy, and precision is required to ensure the high-pressure fittings do not leak.
Tools and Materials Needed:
Safety glasses and heavy-duty nitrile gloves
Flare nut wrenches (also known as line wrenches) — typically 12mm for standard steering rack fittings
A catch pan to collect escaping power steering fluid
New transfer tubes (pre-fabricated or custom-bent)
New NBR (Nitrile Butadiene Rubber) O-rings (typically 3.5mm ID x 1.5mm diameter)
Fresh power steering fluid (ensure it matches your vehicle's specifications, especially for German cars which often require specific mineral-based fluids)

Step 1: Elevate and Secure the Vehicle
Safely raise the front of your vehicle using a floor jack and secure it on heavy-duty jack stands. Never work under a car supported only by a hydraulic jack. Remove the front wheels if necessary to gain better access to the steering rack.
Step 2: Clean the Area
Steering racks are often covered in road grime, dirt, and leaked fluid. Use a can of brake cleaner and a wire brush to thoroughly clean the area around the transfer tube fittings. Any dirt that gets inside the hydraulic ports during disassembly can ruin the internal seals of your steering rack.
Step 3: Drain the Fluid
Place your catch pan directly underneath the steering gear. Using your flare nut wrench, slowly loosen the tubing nuts on the damaged transfer tube. Let the fluid drain completely into the pan. Note: Always use a flare nut wrench rather than a standard open-ended wrench. Standard wrenches easily slip and round off the soft metal fittings, turning a simple job into a nightmare.
Step 4: Remove the Old Tube
Once the fittings are fully unscrewed, carefully wiggle the old tube out of the rack housing. Be sure to check the ports to see if the old O-rings are still stuck inside. Use a non-marring pick to remove them.
Step 5: Prepare the New Tube (If Fabricating)
If you are using a pre-bent kit, skip to Step 6. If you are custom-fabricating:
Cut a length of 1/4-inch copper-nickel tubing to match the old line.
Slide the original M12x1.0 threaded fittings onto the tube before flaring.
Use a professional flaring tool to create a precise 90-degree double flare on both ends.
Carefully bend the tubing, using the old tube as a physical template, ensuring the bends do not kink.
Step 6: Install New O-Rings and Fittings
Lubricate your new NBR rubber O-rings with fresh power steering fluid and seat them carefully onto the ends of the new transfer tube. Carefully align the tube ends into the ports on the steering rack. Thread the tubing nuts in by hand first to prevent cross-threading.
Step 7: Torque the Fittings
Using your flare nut wrench, tighten the fittings firmly. Do not over-tighten, as you can crush the O-rings or strip the threads in the aluminum rack housing.
Step 8: Bleed the Power Steering System
Fill the power steering reservoir with the manufacturer-recommended fluid. With the front wheels still off the ground, turn the steering wheel slowly from lock to lock (all the way left, then all the way right) 15 to 20 times with the engine off. This coaxes air bubbles out of the rack and up into the reservoir. Top off the fluid, start the engine, repeat the lock-to-lock turns, and check the transfer tube connections for any signs of weeping or leaks.
DIY Rack and Pinion Transfer Tube Replacement vs. Professional Service
Deciding whether to tackle this job in your driveway or hand the keys over to a professional technician comes down to your comfort level with hydraulic systems and the tools at your disposal.
While the parts themselves are relatively inexpensive, the labor can vary wildly depending on how easy it is to access your steering rack. On some vehicles, the transfer lines are easily reached from underneath. On others — particularly modern German luxury cars — the steering rack is tucked tightly above the subframe, requiring specialized support tools to lower the subframe safely just to reach the fittings.
Factor DIY Approach Professional Service Average Parts Cost $30 - $80 (Lines/Kits) $50 - $120 (Marked-up parts) Labor Cost $0 $150 - $450 (Depending on access) Required Tools Flare wrenches, flaring tool, jack stands Professional vehicle lifts, hydraulic system flushers Time Investment 2 - 6 hours 1 - 3 hours Risk Factor High (Stripped fittings, system leaks) Extremely Low (Backed by warranty)
If you are dealing with a complex suspension setup where dropping the subframe is required, it is often safer and more efficient to leave the job to a certified professional. This also ensures your wheel alignment isn't thrown out of spec during the process, saving you from unexpected tire wear or a high Car Suspension Fix Cost.
Frequently Asked Questions About Steering Rack Lines
Can I use copper-nickel tubing for custom transfer lines?
Yes, absolutely! In fact, copper-nickel (often sold under brand names like NiCopp) is highly recommended by automotive specialists. It offers superb corrosion resistance, meaning it will never rust out like OEM steel lines. Additionally, it is rated to handle pressures well beyond the requirements of a standard power steering system and is much easier to bend without kinking. Just ensure you use 1/4-inch tubing and execute a perfect 90-degree double flare.
Do I need to remove the entire steering rack to replace the tubes?
In many cases, no. If you have clear clearance under the vehicle, you can replace the tubes while the rack remains bolted to the subframe. However, on vehicles with tightly packed engine bays (such as many Audi, BMW, or Mercedes-Benz models), access is highly restricted. In these scenarios, you may need to partially drop the subframe or remove the steering rack entirely to get enough swing room for your wrenches.
What is the cost difference between hydraulic and electric steering repairs?
Traditional hydraulic systems rely on fluid, pumps, and metal lines, which are prone to leaks but relatively inexpensive to service component-by-component. Modern electric power steering (EPS) systems eliminate hydraulic fluid entirely, relying instead on an electric motor and electronic control module. While EPS systems never leak, a failure usually requires replacing the entire steering rack assembly, which dramatically increases the Cost to Fix Electric Power Steering.
Conclusion
A leaking or rusted power steering transfer tube doesn't have to mean a complete, bank-breaking steering rack replacement. By utilizing high-quality aftermarket transfer tube assemblies or custom-fabricated copper-nickel lines, you can restore your vehicle's steering performance safely and affordably.
If you are located in Pompano Beach, Deerfield Beach, or anywhere in the South Florida area, and you would rather leave this precise repair to the experts, we are here to help. At Mercedes Mike, our decades-experienced technicians specialize in servicing complex German steering and suspension systems. We have the specialized tools and training to diagnose, repair, and bleed your hydraulic systems to perfection.
Don't let a small leak turn into a major safety hazard. If you are looking for a reliable Suspension Fix Near Me, bring your vehicle to our shop at 882 NE 41st Court (just off N Dixie Hwy) or Schedule Steering Service with our team today!